
You probably don’t associate the word “DIY” with gym equipment but you can apparently set up your own gym at home. But why would you go for DIY gym equipment? There are a couple of reasons behind this. First of all, many fitness lovers find the gym to be inadequate for their necessities. Secondly, you’re able to save a lot of money compared to when you buy gym equipment for your home.
But the most important part of having customized gym equipment at your home is you get to hit the gym any time you want and you can exercise according to your own personalized routine. Now, you will introduce some of those DIY home gym ideas in this blog.
Homemade Gym Equipment Ideas
Some of these home gym DIY ideas might appear a tad intimidating but we assure you that these types of gym equipment can be made even by the amateurs.
7 DIY Gym Equipment
These are some of the best home gym equipment that you can make with the right tools. We’ll talk about the required tools and directions for your home gym.
1. Pull-Up Bar
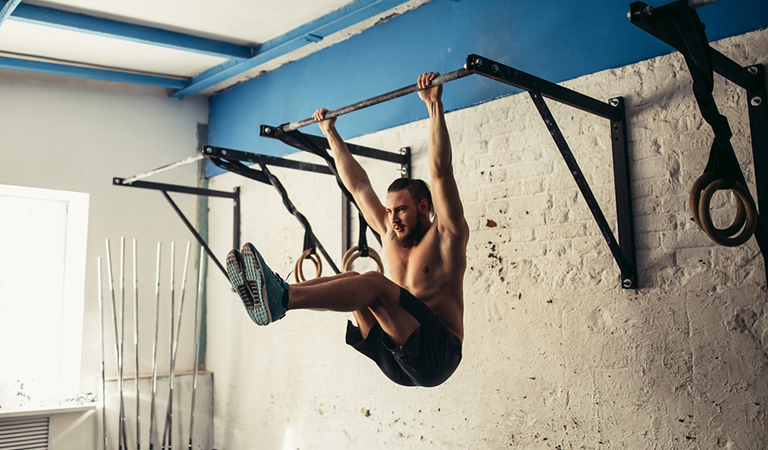
Pull-ups are great to develop your back and arms. To make this home gym fitness equipment, you’ll need:
- One 1×18 inches pipe
- Two 2×10 inches pipe
- Two 2×6 inches pipe
- Two 2×4 inches pipe
- Two 2×3 inches pipe
- Eight 8×90° elbow
- An electric tape
- A pipe wrench
Directions:
- Attach the 3” pipes on both ends of the 18” pipe using elbows
- Attach the 10” pipes with the 3” using elbows
- Attach 4” pipes to the 10” with elbows
- Attach 6” pipes to the 4” using elbows
- Use a wrench to tighten the pipes
- Hang the entire piece on the ceiling and start your workout
2. Sandbag
Working with a sandbag strengthens your body and builds up endurance. This cheap gym equipment is pretty easy to make.
- Get a duffle bag and some sheets
- Get 20lbs of rice and fill it in 3 plastic bags
- Fill the empty space of the duffle bag with sheets
Your sandbag is ready!
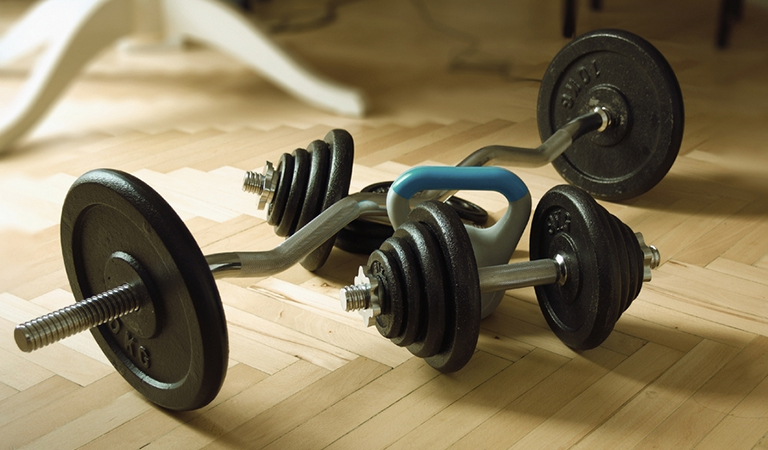
3. Homemade Dumbbells

If you’re thinking about how to build a home gym and start working out, you’ve already thought of dumbbells. We’re not talking about the real dumbbells but these work equally good. We all have empty water bottles sitting around at our homes that are adding to the already piled up unnecessary stuff. It’s time to put them into use.
Fill your water bottles with water or you could use sand for making them heavier. There are your lightweight dumbbells. Start working out with this simple DIY gym equipment before you go for the more strenuous ones.
4. Medicine Ball
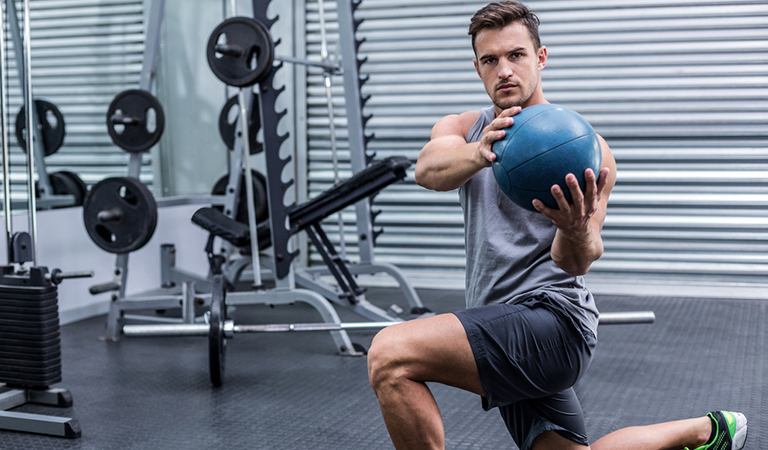
Building a medicine ball for yourself will help you cut a lot on your budget. Here’s how to make this free gym equipment:
- Cut a basketball and make a triangular flap with the cut area
- Pour sand inside and fill the ball. Tape the flap
- Make a hole through any of the black stripes
- Use a funnel and a pitcher to fill the ball with sand
- Make sure the ball is packed well, so the sand doesn’t have room to move around
- Patch the ball using a radial tire patch
- Seal the flap using glue and then duct tape
- Add 2-3 layers of hockey tape to get some grip on the ball
5. Parallettes
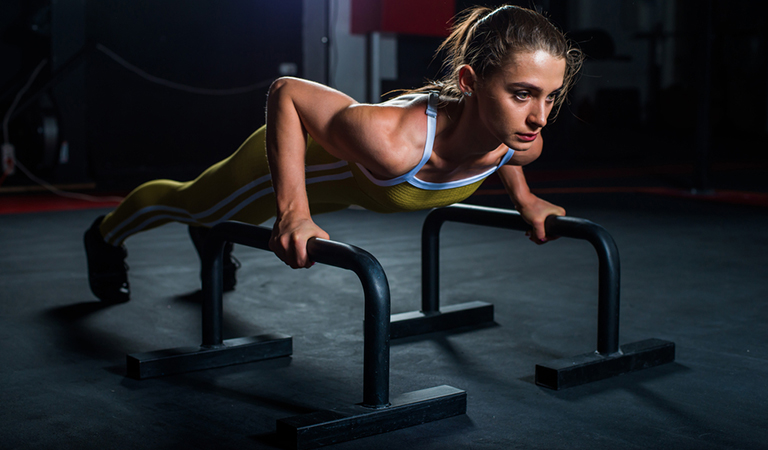
Things you’ll need:
- 11/4” PVC pipe (10 feet)
- 11/4” T-shaped pipes (4 pcs.)
- 11/4” elbows (4 pcs.)
- 11/4” cap (4 pcs.)
- Primer (1 can)
- Cement (1 can)
Directions:
- Cut the 10 ft PVC pipe into 8 pieces of 5” pipes, 4 pieces of 10” pipes and 2 pieces of 20” pipes
- Join the elbows on both ends of each of the 20” pipes
- Add three 5” and 10” pipes to each of the T-shaped pipes
- Apply primer and then cement to the corners of the pipes
- Connect all the pieces together before the cement dries off
- Dry the entire piece for at least 90 minutes
6. Weight Lifting Bench

If you’re looking for a bench for light to medium-heavy weight lifting, you can just stop looking and build it for yourself. But this gym exercise equipment is a multi-purpose one on which you can perform a lot of workout For this, you’ll need:
- 3/4 x 12” plywood (4 feet)
- 1×2” wood (3 feet)
- 2×2” wood (8 feet)
- 4×4 wood (8 feet)
- 8” nut and bolt
- 3” nut and bolt
- Nylon washer
- Flat washer
- Lag screws
- Rubber
- Nails
- Wood glue
You’ll also need these tools to operate:
- Circular saw
- Power drill
- Wood chisel
- Socket wrench
- Hammer
- Sandpaper
- Basic woodworking tools
Directions:
- Cut the wood into pieces measuring their lengths correctly
- Cut the unneeded portion of the wooden base with the circular saw and use a wood chisel as a finishing
- Add wooden glue to all the joints and use lag screws
- For making the backrest support, make a hole on the 2×2 wood
- Drill a hole through the bench top
- To attach the backrest support, use the 8” nut and bolt
- Attach a nylon washer between the flat washers
- Go through the same procedure for the swing arm
- Use 4 bolts and nuts to attach the 12” bolt at the swing arm’s end
- Use wood glue and nails to tighten both the backrest and bench seat
- Sand through the rough areas
- To prevent sliding, add a rubber on the bottom of the base
- Add wood stain and coatings of polyurethane
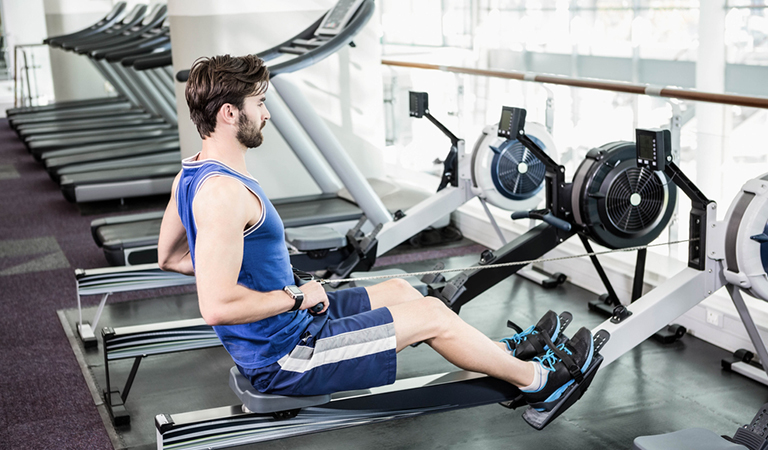
7. Rowing Machine
Things you’ll need:
- 2 hook bolts and screws
- 10 screw eyes
- Spring washers (4 pcs.)
- Washers (8 pcs.)
- Hexagon nuts (8 pcs.)
- Threaded rod
- Carabiner
- A couple of screws
- Cable clamps
- 3 cm wheels (10 pcs.)
- 4 cm wheels (2 pcs.)
- Wooden beams (4×4 cm)
- Wooden stick (2.5×60 cm)
- Wooden board (88x30x2.7 cm)
- MDF sheets (99x33x1.1 cm)
- Aluminum pieces (140 cmx4 cmx3 mm)
- Elastic straps
- 2 meter X 10 mm rope
- 4 pulleys
- 32x12mm bearings (2 pcs.)
Tools required:
- Wood glue
- Wood paste
- Wood wax
- Wood file
- Jigsaw
- Sandpaper or belt sander
- Screwdriver
- Wood Clamps
- Drill
Directions:
- Cut six 30 cm, six 10 cm, two 18 cm, three 40 cm, two 42 cm, two 19 cm, two 73 cm, and two 170 cm pieces off the wooden beam using the jigsaw
- Cut a 4x4x2 cm rectangle off the 170 cm and the 40 cm wooden pieces
- Glue the cut down ends of the 170 cm and 40 cm pieces
- Glue them together in a right angle
- Attach the 30 cm pieces to the corners of the right angle
- On the 170 cm pieces, drill 15 mm at 3 cm length from the top
- Use glue to attach a 10 cm piece to the right angle. Glue two 10 cm pieces at a 25 cm distance and another 10 cm piece at an 83 cm distance
- Cut a 4x4x2 cm rectangle off the 40 cm piece
- Attach the 42 cm to the 73 cm with a screw
- Screw 18 cm on the long ends among the 73 cm pieces
- Attach two 19 cm vertically among the 18 cm. Keep 2 cm space among them
- Attach four 30 cm on the right angle corner
- Use the wood paste to fill the holes in the screwed areas and use a sander for smoothing
- Use the MDF board to cut two 32 cm circles and a 30 cm circle with the jigsaw
- Drill 12 mm on the circle’s center and put bearings on the holes
- Cut 30×30 cm and 30×8 on the wooden board, and screw them on the sides
- Add two 4×140 cm aluminum sheets to the base’s top
- For feet support, add two 26×12 cm and two 12×6 cm on the wooden base
- Attach the small boards to the bigger ones’ end
- Attach the remaining two 10 cm to the 26×12 cm with a 12 mm hole
- Add 4 pulleys under the base on the 10 cm
- Attach 85 cm elastic straps and cut their hooks on the straps’ other ends
- Attach a screw eye on the 30 cm stick and connect a carabiner to it
- Use a rope to put through the carabiner and use a cable clamp to fasten the rope
You can also add wheels for transportation.
We’ve discussed the 7 DIY gym equipment that you can make with little to no effort. You can make these home gym equipment by yourself at home. They will not only save you a lot of money but you will also get a self-customized home gym. Now you won’t have to run to the gym for exercising anymore, rather you can do your workouts at your home gym that you’ve made for yourself.


")


