
A pressure washer is an expensive investment. This specialized tool can be integral in projects around the house, shop, garage, or even your business. Pressure washers are useful tools that can accomplish tons of projects and make your honey do’s quick and easy. While you may think that you have to replace the hose or even buy a new pressure washer, knowing how to repair a pressure washer hose will be the best way to save money. More often than not, the water pressure is related to the hose. This simple repair can be done easily with just a few steps.
Troubleshooting: Why do you need to repair the hose?
- Low pressure
When using your pressure washer you want a direct, high pressured stream of water. If this isn’t happening, the hose may be to blame. Low pressure can be caused by blockages internal to the hose, kinks, or debris.
- No pressure
If there’s no pressure, fixing the hose is going to be the first step to diagnose your pressure washer. Pressure washers can be difficult and costly to fix. Taking the time to repair the hose first will ensure that you will save time and money before making a needless investment.
- Spiking Pressure and Pulsing Pressure
When you have inconsistent pressure this can be indicative of an issue with the power washer hose. Inspect each hose from origin to output to ensure that there are no easily fixed kinks or obstructions in the hose.
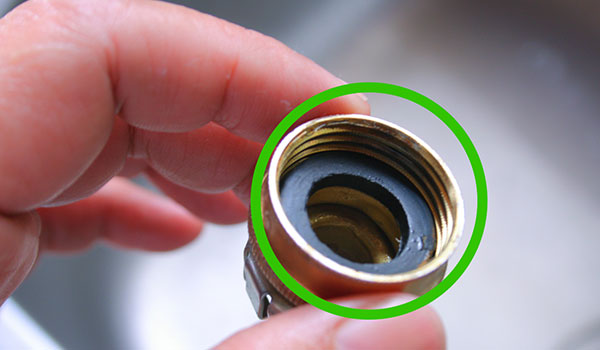
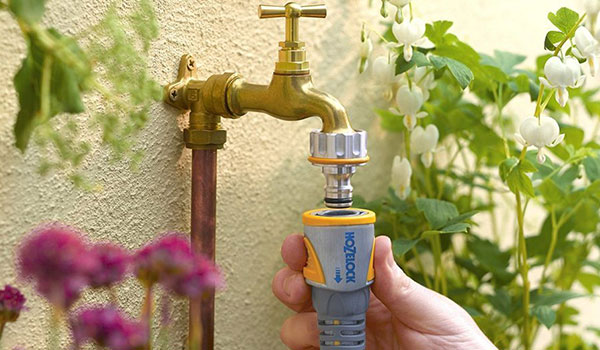
- Leaking water from the garden hose connection
In addition to the power washer hose needing to be repaired, the garden hose that connects the power washer to the source may also become an issue. This hose may become kinked or need to be repaired in addition to the power washer hose. Check this before proceeding with any diagnosis or repair whether it be the power washer hose or the power washer itself.
Fixing the Pressure Washer Hose, Step by Step
 While pressure washer hoses are under a high amount of pressure, taking the time to provide a quality repair can end up saving you time and money. Take the time to make sure that all couplings are seated completely. This will ensure success when you know how to repair a pressure washer hose.
Things you will need to repair the hose:
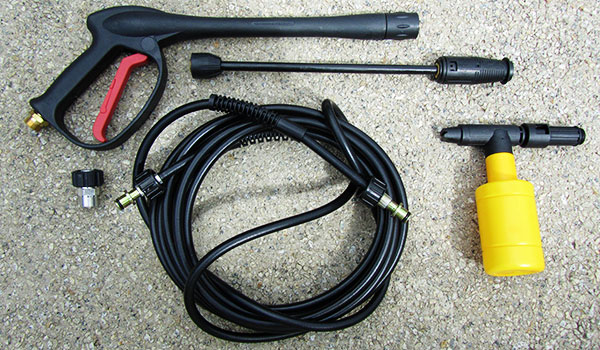
- Shears
- Male Repair Coupling Kit (includes coupling and hose clamp)
- Female Repair Coupling Kit (includes coupling and hose clamp)
- Screwdriver
- Optional: large, wide plastic container, dish soap, water
Here are the steps to repairing the hose on your pressure washer:
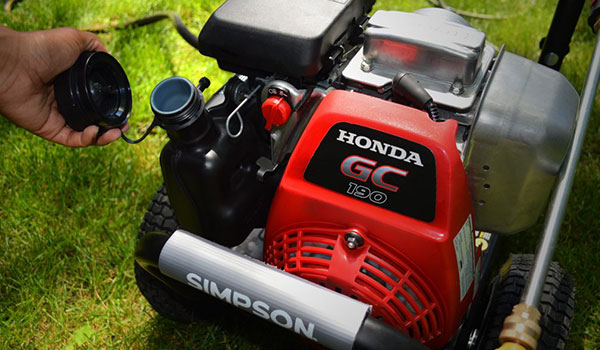
Make sure that your unit is unplugged: This is important for your safety and to make sure that the unit is not damaged in the process.
 Discharge the water from the unit and hoses: While your unit may have a specific process, the easiest way to remove the pressure from the unit is to disconnect it from the water source. After this is complete, you should be able to easily inspect the hose without any concerns. We recommend double checking the manufacturer’s recommendation by consulting your user manual before performing any maintenance, including repairing the hose.
 Inspect the Hose to find the Leak: This may seem like a mundane task, but it’s necessary to find the leak. Look for cuts, nicks, kinks, and pinholes. Take the time to visually inspect the whole hose before moving forward. You want to ensure that there is only one repair before moving forward. We recommend not repairing if more than one problem is found.
- If the hose passes the visual inspection and you’re still trying to find the problem, you’re most likely trying to find a pinhole cut in the hose. These can be almost impossible to find depending on how your hose is designed. You can fill a plastic container with warm water. Use dish soap (or any other sudsy soap like body wash or shampoo) to make the water very soapy. Submerge short lengths of the hose underneath the water. After that length is submerged, move down the hose slowly. The point of the pinhole will cause small bubbles that you can easily see when the air enters the soapy water.
- After you’ve found the problem spot, inspect it to ensure that you know the total length. Whether the leak is a pinhole or a long gash you need to know the affected length of the leak.
- Cut at least ½ inch in either direction and remove the affected length of hose that has the leak. Make sure that the shears cut completely and the cuts are perpendicular to the hose. If this cut isn’t made correctly the repair may fail. Take the time to clean up the cuts and make sure that they are perfect. Making sure this is done properly now will ensure that there are no problems down the road.
 Place the hoses clamp over the hose on each side of the affected cut: You need to do this before installing the couplings. If you don’t, you won’t be able to install it afterward and this is highly recommended for safety.
Install the male repair coupling on the cut side closest to the power washer: Take the time to read the instructions on the kit to ensure that your kit doesn’t have any model specific directions. The basic directions are to seat the coupling into the hose by turning and pushing the coupling into the hose. Make sure that the coupling seats completely into the hose.
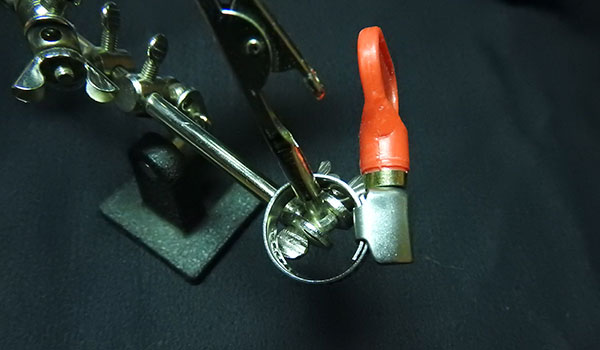 Tighten the hose clamp: Make sure that the hose clamp is tight to ensure a successful connection.
Repeat the process to install the female coupling on the cut side closest to the water source: Double check the directions on the female coupling to ensure that your brand doesn’t have any specific directions.
 Double check each connection between the hose, hose clamp, and coupling to ensure proper seating: This is important and should be done for safety. Any faulty repair could result in damage to the hose, power washer, or you. Take the time to double check this will ensure a successful repair.
After each side is connected to the respective coupling, attach them to complete the hose. Make sure that it’s flat and there are no kinks in the finished repair. Insert the power washer hose into the power washer and plug in the power washer. Tada! You’ve finished your power washer hose repair!
Warnings
The water pressure is extremely high for a power washer. Make sure to double check your repairs before turning on your pressure washer. Check to make sure the hose clamps are tight. Also make sure that the area around your repair is free from dogs or children the first time that you’re turning it on.
Knowing how to repair a pressure washer hose is a great way to save money and make the most of your power washer. By keeping your pressure washer working for longer, you have more time to finish tasks around the house. The hoses are expensive and if you can get away with a solid, quality repair, you can save money and still have a tool that you can depend on.
With only a few tools and a little bit of patience, you can easily fix your power washer hose.


")


