
Memory is the cornerstone of our human entity and it works as the emotional glue to bind our closed ones with the bonding of love and friendship. There is a saying, a man die twice. First one is his/her physical death, and finally when he or she is forgotten from the memory of the living ones. That is true. Even after we are gone from this world, a version of ourselves lives on within the memory of our loved ones.
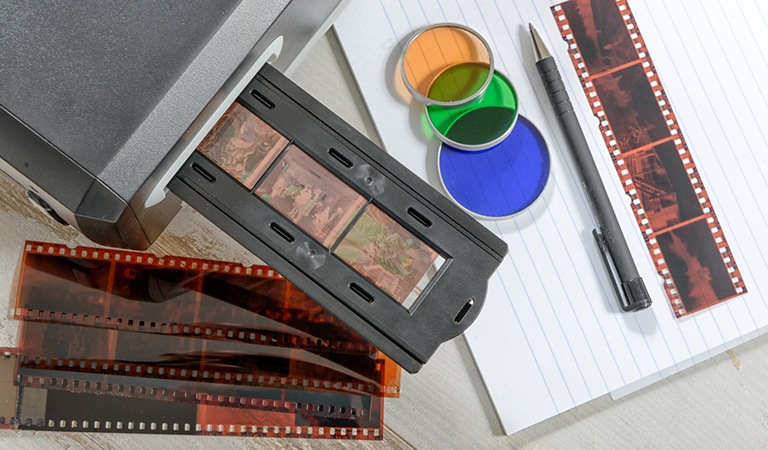
Human civilizations were built on the very core idea of memory preservation. Arts, sculpture, history are ways of preserving memory, knowledge, and emotions. With the advancement of technology, now we can save our memories through digital image and videos. Not only that, but you can also save your precious memories on slides or negatives by converting slides to digital photos.
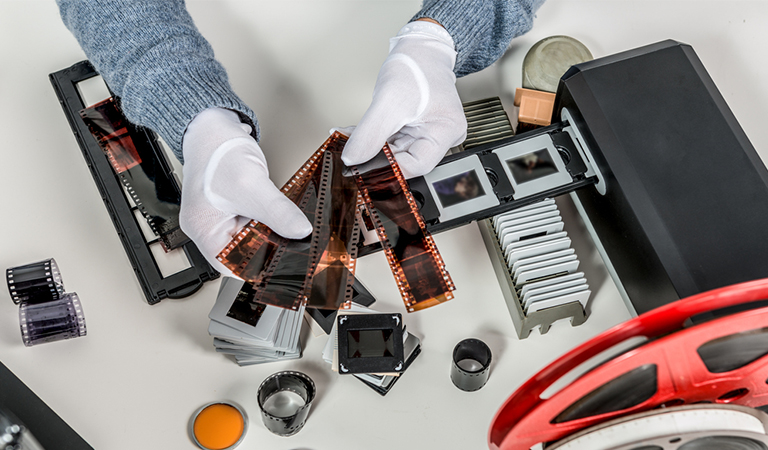
Why You Should Convert Slides & Negatives To Digital Photos?

Slides and negatives contain many of our memories of past events like marriage, anniversary, and many other invaluable memories. Before the age of digital camera technology, these were the best medium of keeping our precious memories. But unfortunately, they are not as long lasting as digital images. Here are the reasons why you should convert slides and negatives to digital photos.
- Deterioration Risk: old slides and photographs are always at risk of deterioration. It is the most compelling reason to convert your slides and negatives to digital images. Slides or negatives are only thin papers with rigid frames. It is only normal that they will deteriorate over time. Moreover, there is also the risk of losing the slides.
- Old Format: Hardly any of us use slide projectors. Surely it is a thing of the past now. Digitizing 35mm slides would make them more accessible and shareable.
- Long Lasting Storage Option: digitized images can be saved anywhere. It provides you many storage options. You can save the hard copies after printing them or you can save it on the cloud to access it anytime and anywhere in the future.
How To Convert Slides & Negatives To Digital Photos

If you are in need of digitizing your old photos or slides, you can either choose a professional service or go full DIY. The choice depends on your quality and time requirements as well as the cost factor. Doing it yourself will not result in the best quality photos since image digitizing also has a learning curve. Taking professional service would certainly provide better quality images.
However, if you have a lot more slides and negatives to convert into digital images, it might be a worthy consideration to do it yourself when you have the available time. All you need is a dedicated slide scanner or a top quality flatbed photo scanner. The ways of scanning and converting slides & negatives to digital images are described in the following.
1. Slide Scanner
A slide scanner is meant to scan your slides very swiftly and efficiently. Scanning and converting slides is very easy with a slide scanner. It is the best way to digitize slides. However, buying a slide scanner for digitizing slides is only pragmatic when you have or are going to have lots of slides to scan. Otherwise, it won’t be financially justifiable to spend on buying a slide scanner. The resolution quality and scanning speed are also worth considering before selecting a slide scanner. Higher quality comes with a greater price tag.
You can also buy a used slide scanner or borrow one if possible. However, before using any models, make sure that the scanner is compatible with your pc. It is a very recurring issue with old scanners. Here are some essential features to consider before buying a slide scanner.
- Quality
- Speed
- Compatibility
2. Flatbed Photo Scanner

Flatbed photo scanner is a good option for scanning and converting your slides and negatives into digital photos. Although it is not the best option to scan slides, it is a cheap one. The problem with the photo scanner is that unlike slide scanners, photo scanners are not designed to catch the reflection of light from the photos. On the other hand, slide scanners are designed to scan the slides while light passes through the slides. Nevertheless, you still can get a good quality image with a photo scanner.
However, if you desire to get the best scan quality from or 35mm negatives or scanning slides on a flatbed scanner, there is a way. You just need to make a cardboard adapter. Making a cardboard adapter is not a big deal at all. In the following, I described how to scan slides on flatbed scanner with details.
How To Make A Card Board Adapter & Scan With It
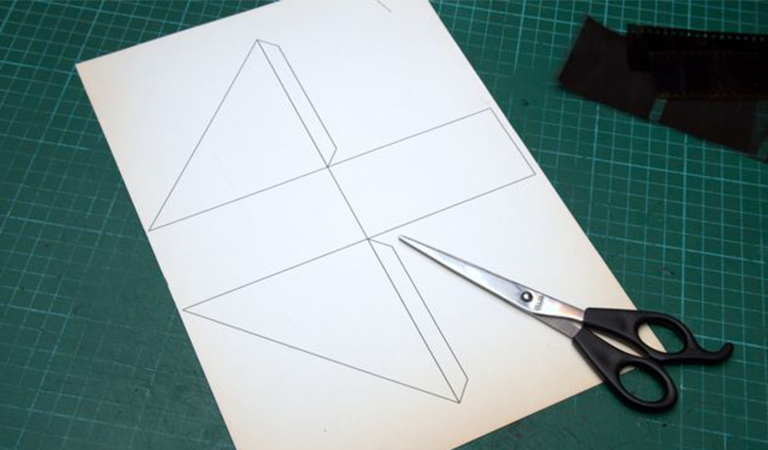
- Take a silver-shiny cardboard and draw the following design in a symmetrical fashion. You can also print it out instead of drawing.
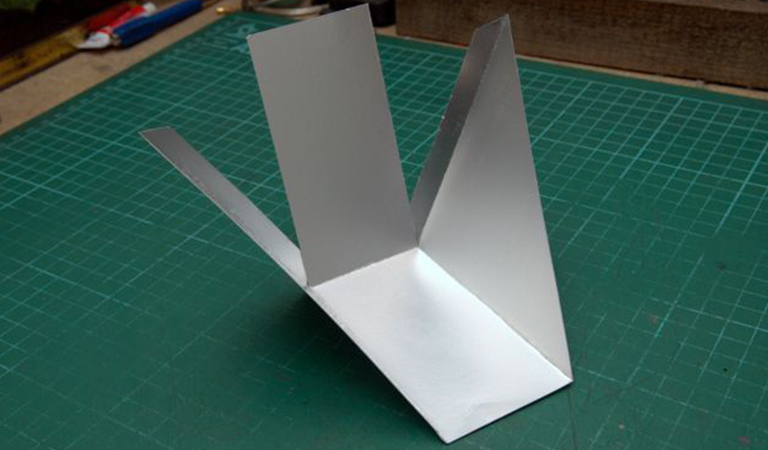
- Cut the cardboard around the shape and then fold the triangles upright so that the shiny parts of the triangles face each other as shown in the following picture.
- Fold the loose rectangular toward the edges of the triangles. Then tape the edges. After that, the board should look like the following picture.
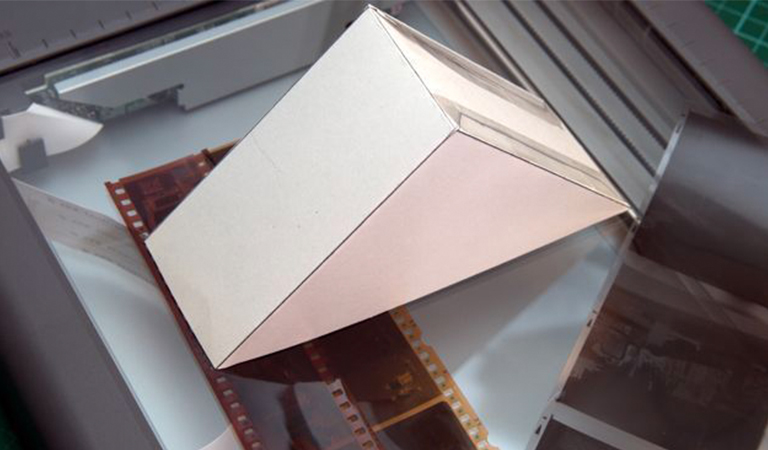
To use the cardboard to scan slides, you just need to place the slide on the photo scanner and then put the adapter on the slide, lining it evenly with the border. Thus the reflection will be even. Scan in this position keeping the lid open. If the lighting is not even yet, place a thin tissue paper beneath the slide. Scan with higher resolution to get a good result. I recommend setting the resolution, at least, to at 1200 DPI.
However, if you are up to scan and convert 35mm negatives into digital images, then you need to do some computer tricks to reverse the color of the negative slides. You can do this through any image processing systems like Microsoft Paint. After that, you might also have to adjust the brightness and contrast of the image. If there are any specks of dust, which is very possible, you will have to remove them through a photo editor tool. If you don’t have any, you can download Paint.net or GIMP for free.
3. Camera Projector

This is the obvious way to save a digital version of slides. You just project the slides and take a picture with a camera. Certainly, this way will not give you the best result and it does not apply for converting negatives.
4. DIY 35mm Negatives Converter
This idea is inspired by the Instructables. It does a pretty good job in capturing images of 35mm negatives. You will need two or three cheap and available things to make this DIY 35mm negatives converter. Get the full instructions here and don’t forget to share your version of the converter with us in the comment section.
5. Going With A Professional
If you don’t have enough time available and you want the highest quality, the best way to convert old photographic slides to digital photos would be taking service of professionals. Any photo lab in your locale would be good enough to do the job. You can also order online. There are many of them.
These are the available options for you to convert your old slides or 35mm negatives into digital images. Choose any of these according to your preferences. Don’t forget to share us if there are any other options left according to your knowledge in the comment section.


")


