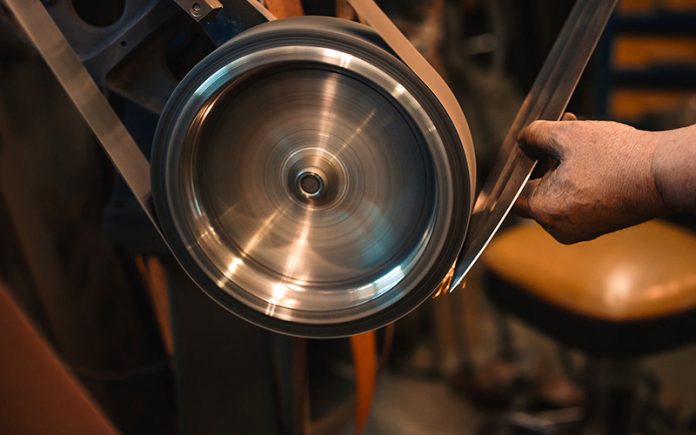
Knife making is one of the oldest tricks of the instrument trade known to man. Starting with the use of sharpened stones, it has evolved into a supreme art form of supreme caliber. Although modern technology has introduced machinery that mass produce knives in thousands, knife making by hand still remains in practice. Knives purchased from hardware stores and shopping malls may not have the desired qualities you want or may not meet your specification based on what you need the knife for. When faced with such a dilemma, using a belt sander for knife making is a skill you should have to get the bowie or hunting knife whenever you need. With this skill, you can make a blade that suits your needs with readily available materials.
Why Make Your Own Knife?
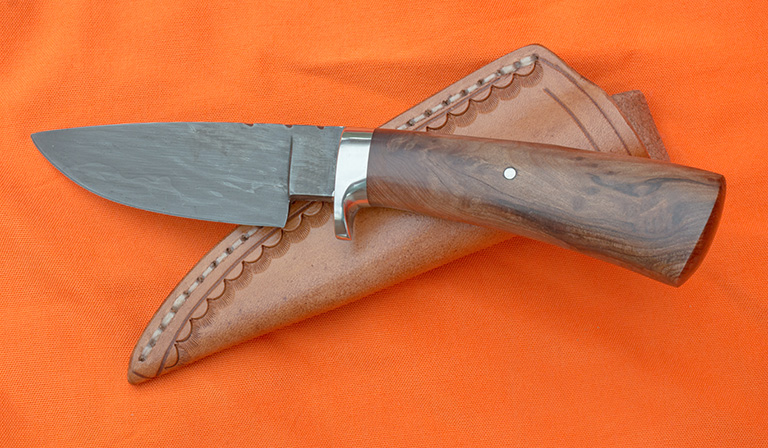 As an art form: Knives that are mass-produced in factories all carry similar forms and designs. The idea is to produce a cutting instrument that does the job of cutting objects alone. Little or no attention is paid to aesthetic designs. Producing yours on your own will give you the liberty to shape and design it to meet your specification.
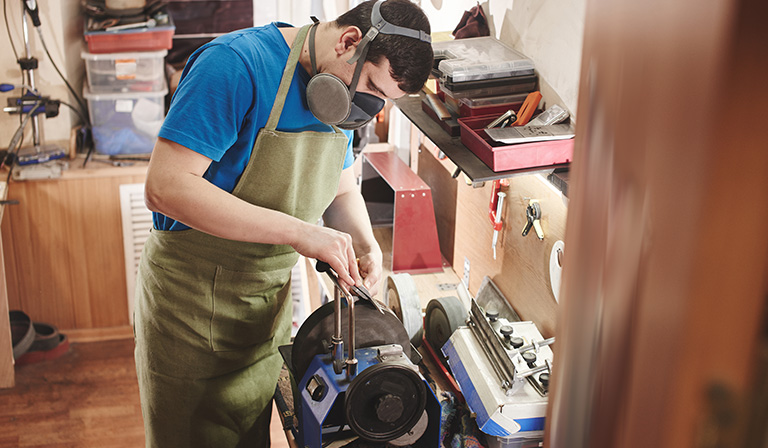 As a hobby: Just like painters who love working on canvass you may pick it up as a hobby
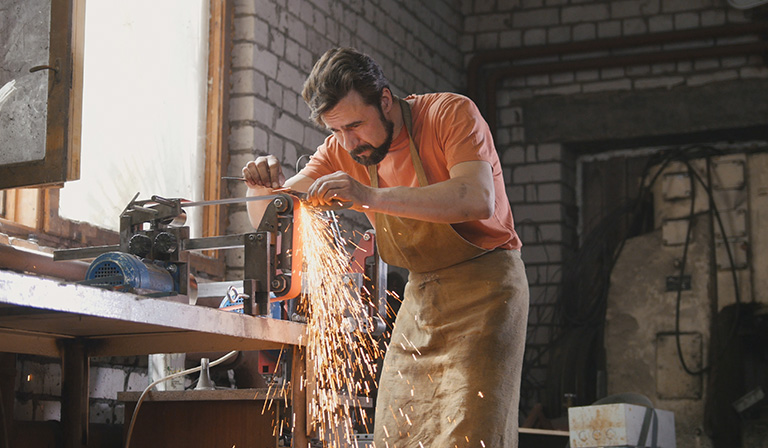 For honing your metal working skills: Metal working is the art of producing tools and objects with the use of metal. By engaging in knife making, you not only produce a metal instrument, you also improve your metal designing craft which is a useful skill to have.
 It is cheaper: Making your own knives sometimes is more cost effective than buying one.
 Quality: Knives bought from stores may not meet the quality standards you need. The blade may not be sharp enough or the handle may lack sufficient grip. Producing your own knife with the quality you desire is made possible if you can produce yours.
Using a Belt Sander for Knife Making – Tools You Will Need
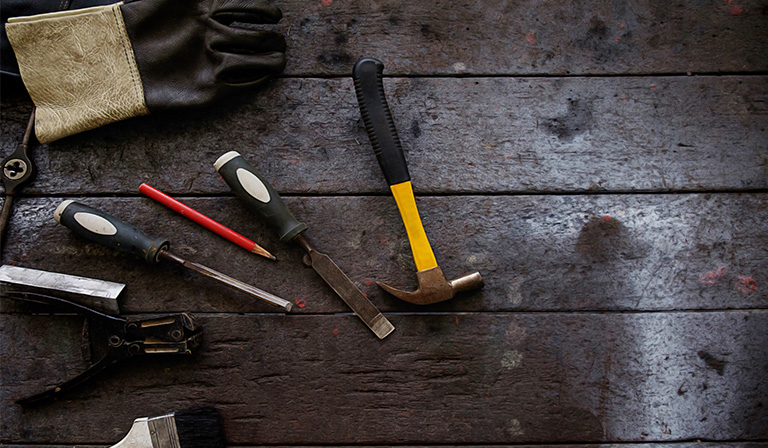
There are basically two ways of making your own knives –
– The first is forging your own knife the old school way
– Using a belt sander or a belt grinder for knife making to grind the blade into shape
For both options mentioned above, you will need a Belt Sander for knife making and a Grinder. If you have folded or hammered your heated metal into shape at a forge, you will need a Sander machine to polish it and a Grinder to sharpen the edge of the blade properly.
It is also possible for you to create your own knife from scratch using just a knife making belt sander, a grinder, a burning coal fire source and a blacksmithing hammer and anvil for beating the blade into shape. Just ensure that you have enough replacement belts if you plan working with sanders. Sanders are more delicate than belt grinders for knife making and wear out with time when used for grinding metal.
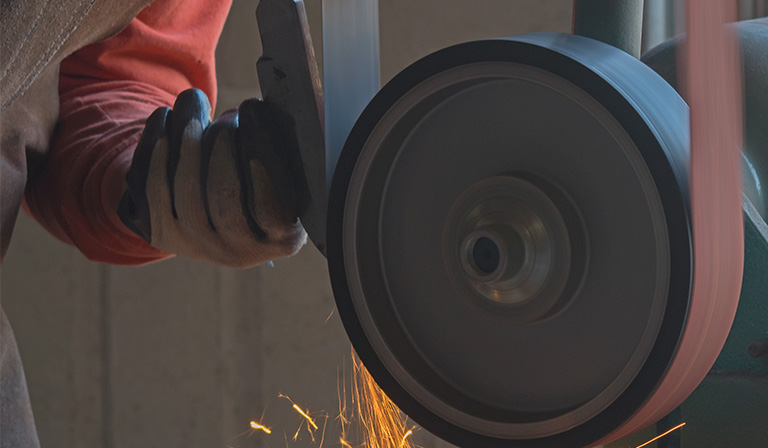
You also need to have a variety of sander belts with different chisels and grits for the wooden handle and a hard putty to seal the blade and handle in place.
Steps to Sanding a Metal into a Knife
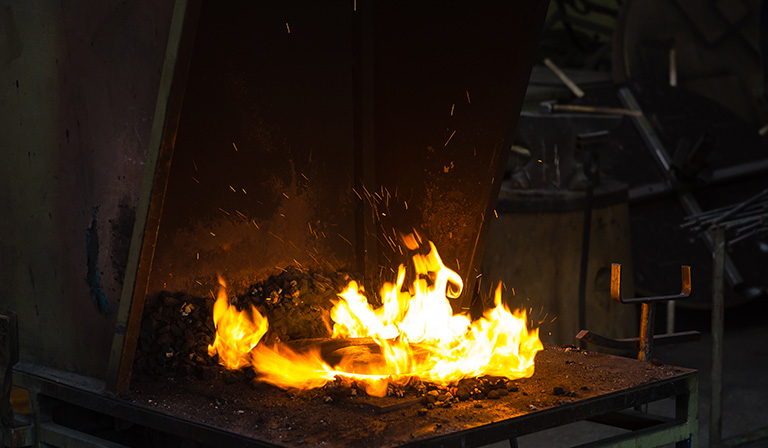 Light up your charcoal until it is red hot: To be able to shape the metal, the heat temperature needs to be extremely high. So you need to make sure that the coal is fired up before you commence.
 Bucket of cold water: Have in place a bucket of cold water because you will need it.
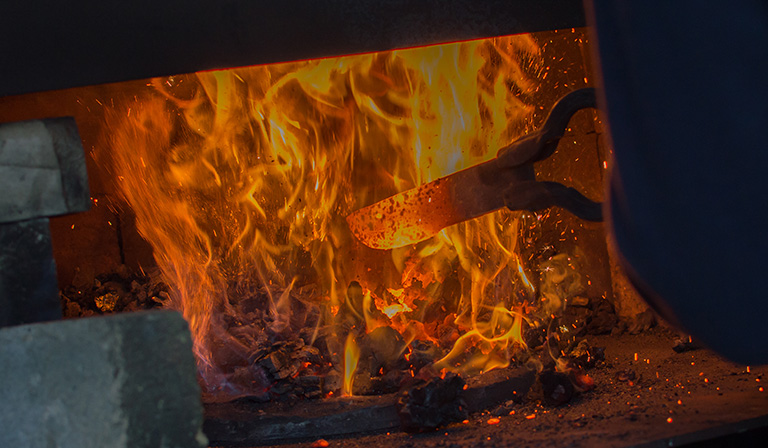 Heat up your metal: Depending on the type of metal you are working on be it steel, aluminum or iron; heat it up to a significant degree.
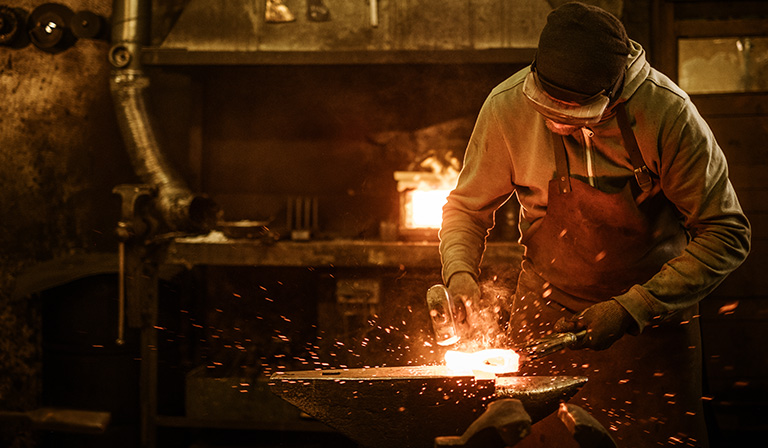 Flatten heated metal: Once it is heated, use a hammer to flatten the already soft metal into a knife shape.
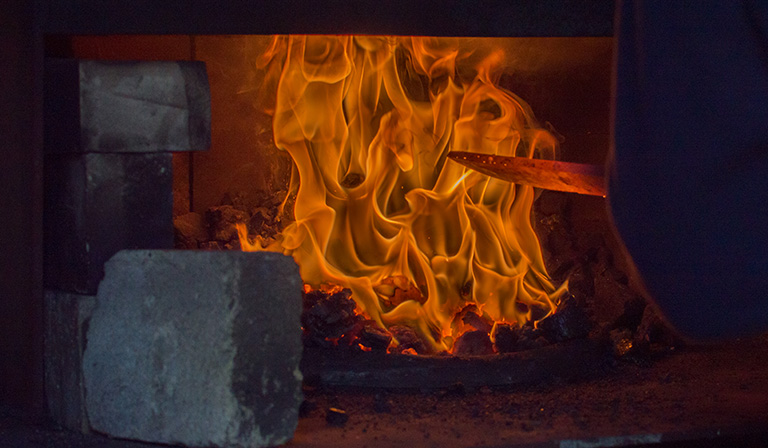 Reheat: You need to return the flattened metal back to the fire to reheat it again.
Use your Belt Sander: After reheating the metal and it has cooled off for a while, use your belt sander to give it a knife-like shape
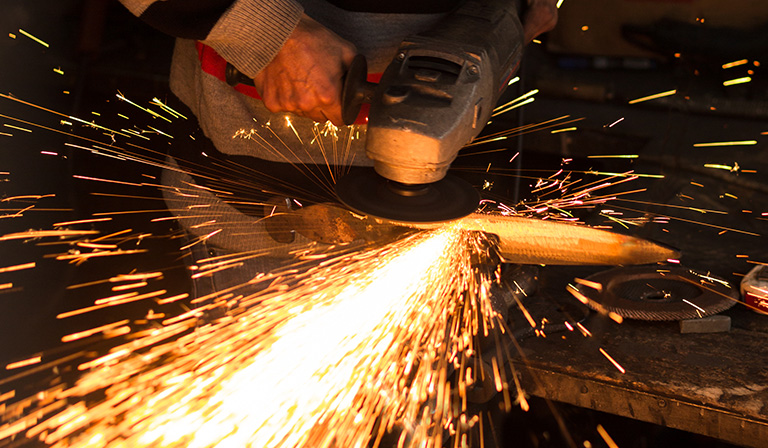 Reheat the knife blade constantly: Endeavor to reheat the blade every time it cools down a bit to avoid putting undue pressure on the sanding belt. Reheating the blade will allow sanding for longer and the belt will not wear out too quickly.
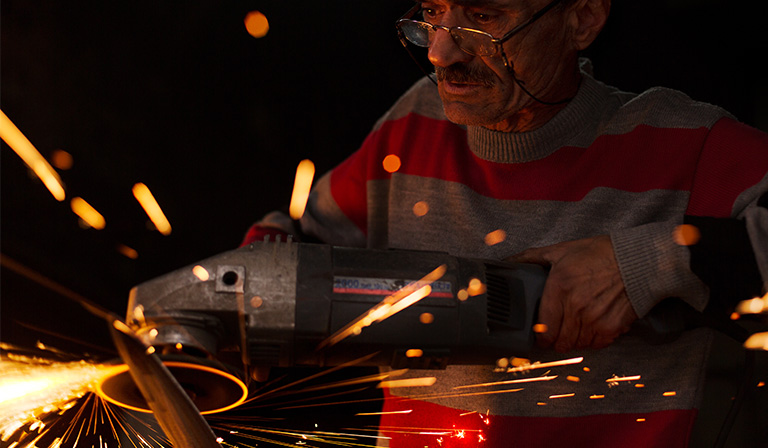 Keep a close eye on the Belt Sander: Take special care to note if the belt sander is getting too hot. You can do so with the back of your hand to check the motor’ temperature. If the Sander gets too hot, it is time to take a break to allow it cool off a while.
File the Knife: Once the knife has been shaped to your satisfaction, use a 24 grit to file down the edge.
Fine tune: You need to keep increasing the grit level for finer tuning. Do this by increasing the grit from 100 to 200 and up to 600 grit sandpapers.
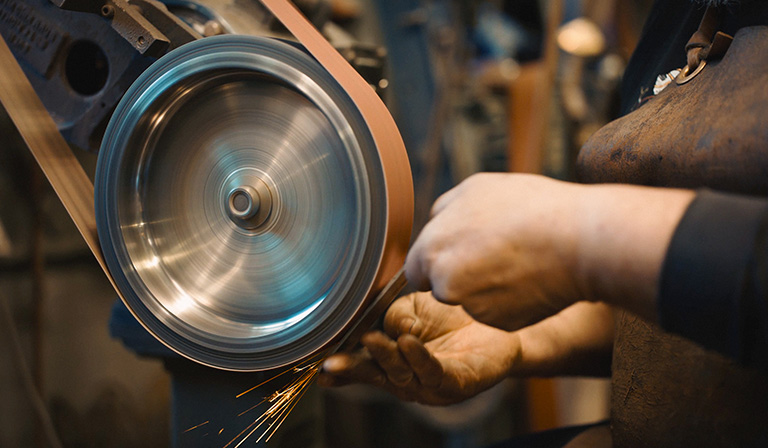 Polish the knife: Once you are satisfied with the sharpness of the blade, use a 400 grit sandpaper to polish the rest of the knife, moving on to 600 grit for a finer polish finishing.
 Make a knife handle: Now take a block of a wood for your knife handle. Luckily, your belt sander is the perfect tool to shape it into a handle. Do make sure the wood block used is of the perfect size.
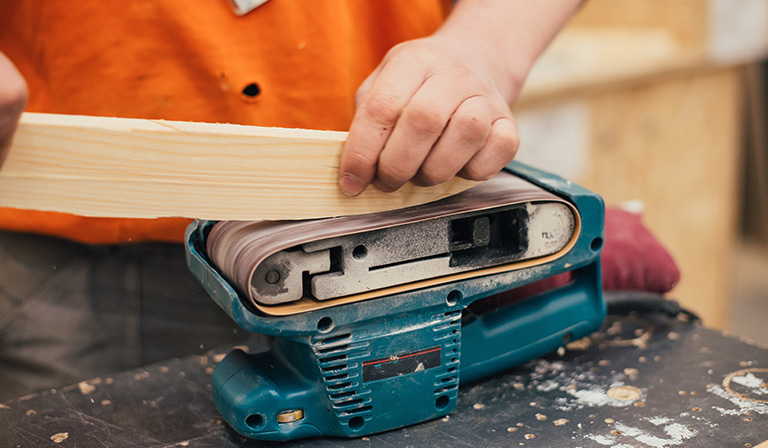 File the wood: Follow the above procedure to file the wood into a cylindrical shape.
Gouge out a hole: After filing, with the aid of a chisel and hammer, gouge out a hole for the blade.
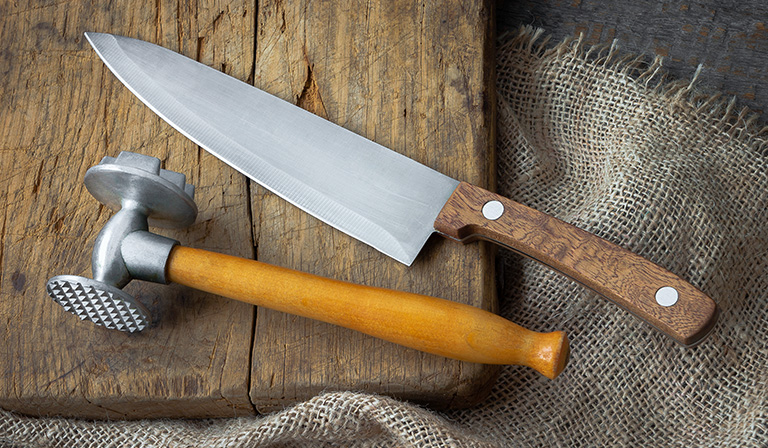 Fix the blade: Hammer the blade into the newly made handle and seal it afterwards with hard putty. With the blade completely sealed, use a metal wax to polish the blade and a wood wax to polish the handle.
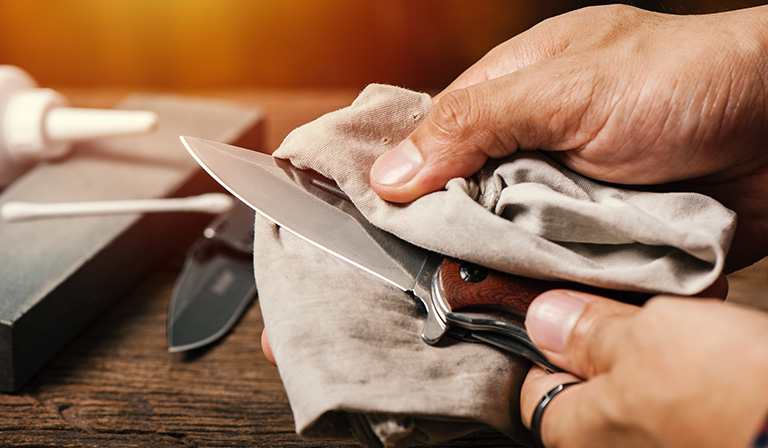
And there you have it, your very own knife, made by your very own hands. You now have learned a survival skill that our ancestors relied upon but we have long forgotten due to the rise of modern technology. So, wield it with pride as often as you would want but don’t cut yourself. Now you can see knife making isn’t exactly rocket science and you don’t need a degree in engineering to fashion a good old blade. You can use the belt sander that you use for woodworking to make a nice knife right at your home. With the instructional tips given above, you can make yourself a good knife any day anytime even for your friends. A belt sander knife is strong, sharp and durable and can be used for different purposes. To make one, just ensure that your forge is in good condition and your belt sander for knife making is working perfectly. With your belt grinder for knife making also in place, you are good to go!

Also, remember to wear protective gear when working on metallic materials and with a belt sander. Protective gear may include but not limited to:
– Hand Gloves
– Goggles
– Long factory coats that would protect your arms
Get your belt sander or random orbital sander today with our in-depth reviews so you can make an informed buying decision!


