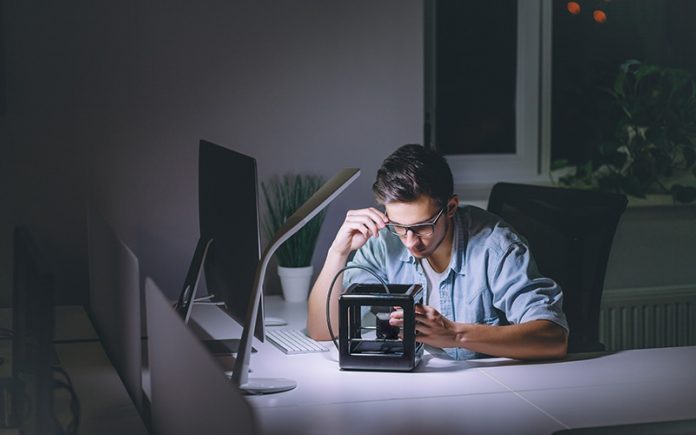
3D printers are incredibly fascinating since they can print out almost anything you want. These printers are a good example of how the modern technology has progressed. Now we can bring forth any idea or imagination and shape it into reality however we want. 3D printers are quite accurate and can handle any complex patterns that you provide.
However, as the popular saying goes by, all that glitters is not gold. 3D printers might be fast and precise, but they have their fair share of problems, just like other traditional printers. If you already own a top-notch 3D printer or intend to have one, you should know what kind of 3D printing problems you might encounter sooner or later and how you can solve them.
So, let’s discuss the common problems you might face when using a 3D printer.
3D Printing Problems – Warping (The Most Common Problem)
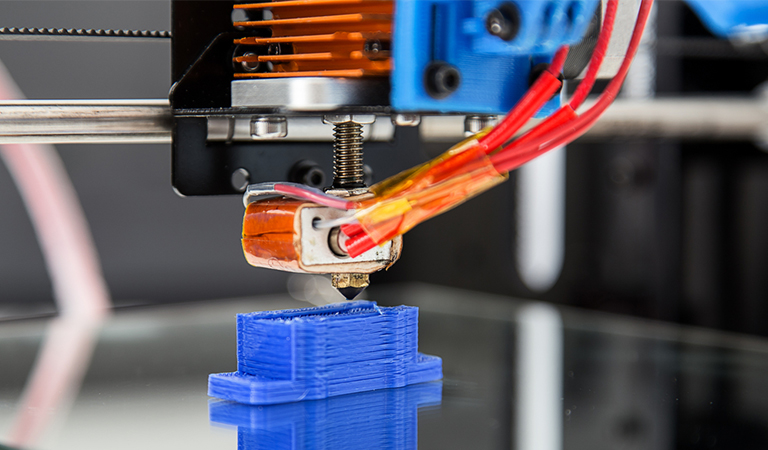
Warping is quite an annoying problem, but it is also preventable. If you’ve a 3D printer, you’ll often see that the corners of your print material are lifted up from the build plate. This is called warping, which happens because of the material shrinking. The material that causes warping is actually plastic. Plastics expand a bit while printing, but contract and cool down later. The material shrinkage occurs if the plastic is contracted way too much. Bear in mind, some materials can shrink more than their counterparts, so when you use these materials the chances of warping are much higher. Here are a few ways in which you can prevent warping from destroying your printouts.
- Adhesion of the build surface is a crucial factor: Build plate surfaces are made of glass or aluminum. These materials surely last a long time but are also very smooth. So your print material might not stick well to the surface. This happens especially at the corners. Hairspray or glue stick could be applied over the build surface, although the process is messy. Adhesion depends on the print material you’re using. For example, warping could occur if you’re using ABS material alone. However, if you combine ABS with acetone, the chances of adhesion with the build surface will be increased significantly.
- Clean the build surface before applying the adhesive: Make sure there‘s no oil or grease on the surface. You can use ammonia-based solutions, water solutions or isopropyl alcohol to remove greasy surfaces and fingerprints.
- Heat the build plate to appropriate temperatures: This will allow the print material to stay below the solidifying temperature and remain flat against the build surface. The temperature that you’ll heat up to, will depend on the type of material you’re using. For example, PLA (Polylactic Acid) doesn’t need a heated build plate.
- The build surface should be plain: When the first layer is printed, it has to be level with the build plate. If the distance between the build plate and nozzle is too big, the material will be too loose to stick to the plate. So, ensure that the build surface is level.
- Prevent excessive cooling: Cooling causes the printing material to contract. Since printing is done layer by layer, you should ensure that each layer is cooled properly before the next layer is added. Excessive cooling could cause a layer to shrink too much, which would prevent the next layer to stick properly.
Stringing Problems
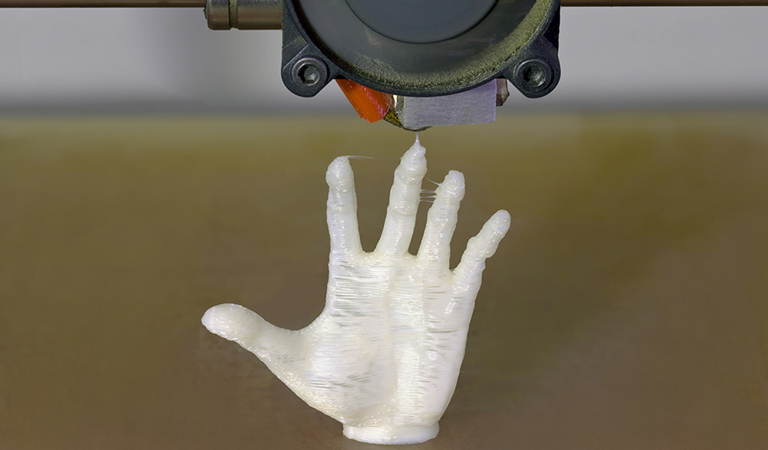
Stringing is a material-dependent 3D printing problem. Sometimes your 3D printer will produce tiny strands of plastic here and there. This usually happens when some material accidentally drips from the nozzle when it moves from one position to another.
However, this is easily fixable. There’s an option called retraction in your printing software. In most cases, it’s enabled by default but if it isn’t, you should enable it yourself. When done, the nozzle will retract surplus printing material while moving into another position.
There could be other problems that could contribute to stringing. Lower the stringing temperature when the printer is stringing so the material becomes more viscous and chances of dripping are reduced. This temperature also depends on the kind of material being used.
How to Prevent Cracks, Gaps and Holes?
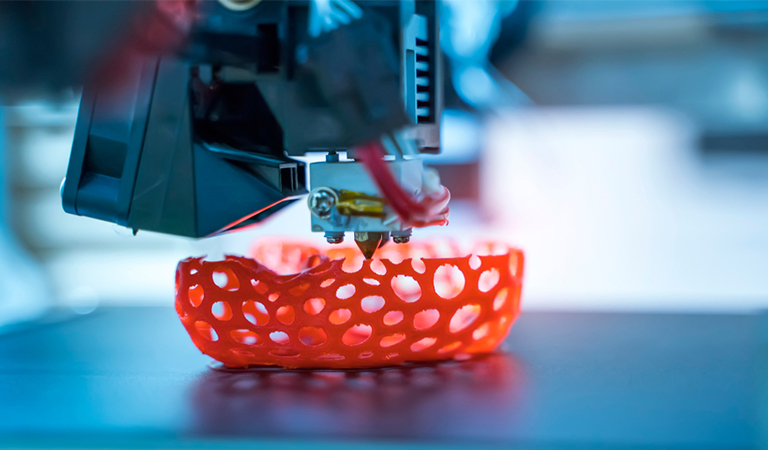
Cracks and gaps are mostly seen in tall or thin 3D printer models. It occurs because of a process called delamination. Two layers of print material cannot simply stick together, thus leaving a gap. Delamination could also be caused by uneven build plate, layers falling off from build plate or warping issues. A way to prevent cracks from happening is to increase the temperature of the build plate and the extruder. Try increasing the extruder temperature first. If that doesn’t work, then go ahead and increase the build plate temperature up to 15 degrees F.
How to Fix Under-Extrusion?
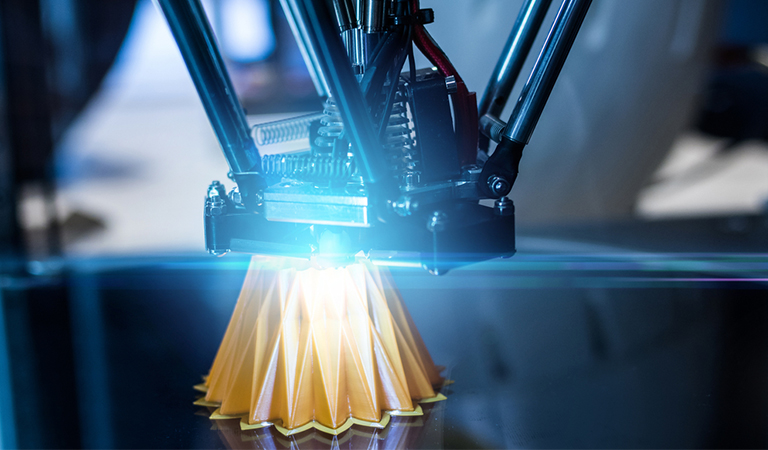
Under-extrusion is an issue that occurs when the printer doesn’t have enough material to supply. When your printer under-extrudes, you’ll see thinner layers of printing material or layers with holes. Sometimes, the entire layer could go missing. Here’re some methods you could follow to prevent any possibility of under-extrusion on your 3D printer.
- Check the printer nozzle and remove any debris inside, such as dirt or clogged carbonized material.
- Make sure the material settings in your software match with the material you’re using. Ensure proper temperature settings, according to the material in use.
- The nozzle height and pressure, printing speed and layer height usually determine the volume of material extruded per second. Make sure you adjust the temperatures along with the printer speed. For example, if your material requires lower temperatures for printing, you have to reduce the printing speed to get the correct extrusion.
- Before printing, check to ensure the material filament isn’t tangled up with the spool prior to entering the feeder.
- Some materials are sensitive to moisture and they could easily get affected by humid weather conditions. So, ensure that your printing material is properly stored and handled before and after use.
- If the feeder is skipping places or ticking back, you know you’ve got one of the most common 3D printing problems. It could mean that the feeder isn’t moving towards the hot-end or it’s not gripping onto the liquid material properly. When you see there’s a problem in the feeder, you can identify the cause by removing the material and checking if there are any marks. If you see any marks, that is a sign that the feeder is working thoroughly. Also, if the feeder is grinding the material or if there are no marks at all, you’ll know that the feeder is damaged. As a result, it should be cleaned and then reused with a new one.
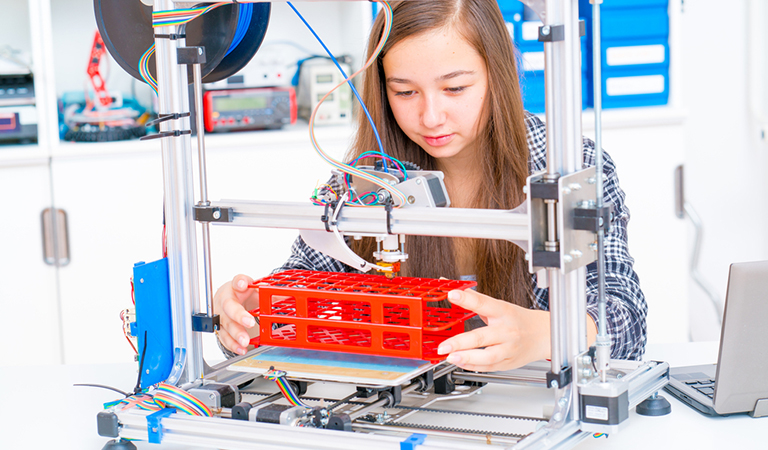
3D printers are one of the most amazing inventions that this century has gifted us. But aside from their numerous benefits, they do come with a few drawbacks. However, the good thing is that you’ll barely need a professional for fixing such 3D printing issues if you’re familiar with a few technical terms and parts of your printer. Also, you should know your printer very well, but that doesn’t mean it might work with all types of 3D printing materials. Once you have practiced building many models with a material, you can easily identify the conditions in which it will work best. If everything is fine and you cannot identify the underlying issue, that’s when you should bring a professional in.


