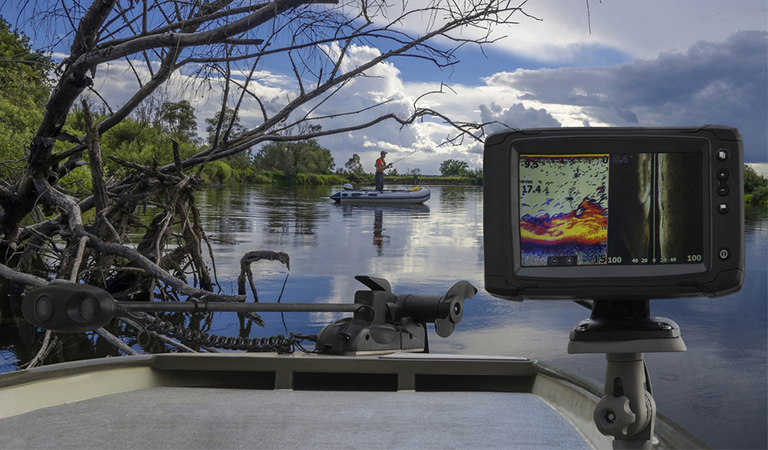
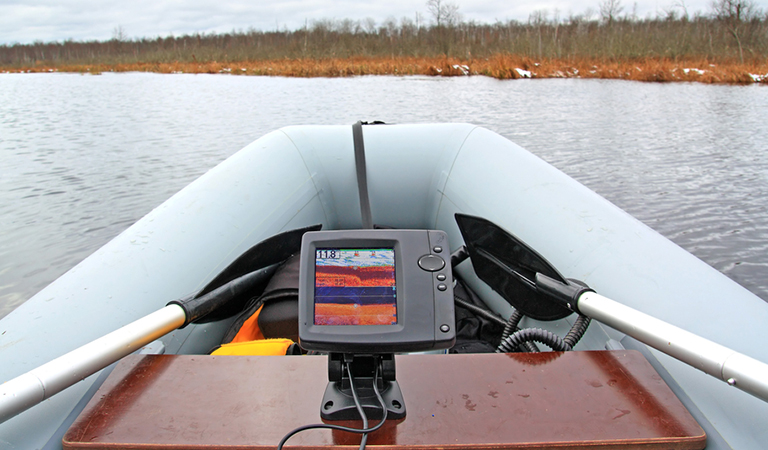
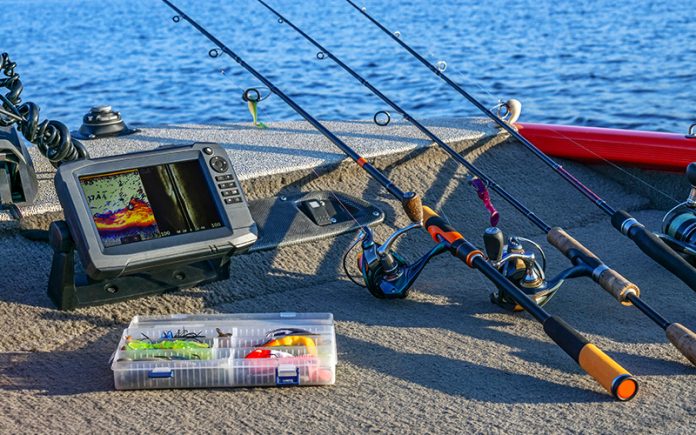
Not many people know about fishfinders. It is one of those kayak fishing accessories that you can’t go kayaking without, especially if you prefer kayak fishing. Fishfinders are based on sonar technology and they can display sound reflection measurements, allowing you to accurately locate a large school of fish and underwater reefs or debris. Advanced radars have the fishfinder system along with radar and GPS systems. Using these devices, you can locate fish to catch or even save yourself in case you have been attacked by a shark. If you are facing dangerous weather conditions or if you are estranged in the middle of the sea, your fishfinder GPS system can also help you with directions. Whether you are a beginner or expert in sea kayaking, you will need to know how to use a fishfinder on a kayak.
How to Read a Fishfinder?

Beginners may have difficulty in interpreting information from a fishfinder. Before going kayaking, it is better to have as much information as you can and then head out. Fishfinder sonars create images of the underwater scenario by sending a sonar beam which bounces back off fish and objects. The intensity of the reflected waves is measured and used to create images. Although the visual is not precisely accurate, it does help you to know where schools of fish are in the vast ocean. This allows you to picture where your bait should be thrown. Depending on the price and model of the fishfinder, there are three ways of imaging. You should pick whichever you are comfortable with.
- Top Down Imaging: Using this kind of imaging, you can view arcs. These arcs can indicate the locations of fish. When using a fishfinder you should aim to look for rocks. Usually fish hide inside underwater rocks and often you will see shadows of rocks.
- Side Imaging: It uses a higher frequency so the imaging is sharper. This is a good way of seeing a bit more on the sides. Although this does not allow seeing what’s exactly down, it will allow you to check the surroundings of your kayak. The screen will show you a split in the middle with the left and right sides corresponding to the left and right side of your kayak. Side images use the idea of interpreting shadows. It detects shadows created when the sonar beam bounces off objects. Data near the bottom of the screen is older while data near the top is newer. Both side and top-down imaging require a little bit of practice.
- Two-dimensional sonar imaging: It provides detailed information and covers larger areas sideways, though not too precise. This type of imaging usually is used among fishermen to view schools of fish below more accurately. It comes as an option that can be interchanged with the other imaging techniques.
Fishfinders can also give you an idea of the bottom of the river or lake you are kayaking on. There is a red line that indicates the surface of the water. If there is anything visible below this line it means the bottom is sandy or muddy. If nothing is visible, the bottom surface is most likely rocky.
Since it will take some time to get used to these imaging techniques I suggest that you practice using your fishfinder in shallow waters first. Install it on your kayak and then check out rocks and whether it can detect fish movements or not. Fishfinders are able to display the most recent information on the right side of the screen and older information is pushed towards the left.
Some fishfinders use a chart plotter side by side with the imaging to show you the potential fish activity. You can even mark these places and then use it whenever you come back to that place. You can also zoom into certain regions, change color contrast, and reduce or increase sensitivity.
How to Install a Fishfinder on a Kayak?

Using a fishfinder means that you do not have to navigate your kayak aimlessly through the water, so it is a must-have fishing accessory for kayak fishing. However, installing it is an issue many among us face. Here is a simple guide on how you should set up your fishfinder.
- The first thing that you have to decide is where you will place your fishfinder on your kayak. It is recommended to install it in the front so that when you are running your kayak you can view the screen within arm’s reach. Position it carefully so that it does not end up on the sides of the kayak.
- Look for a flat area in the front, where the transducer will be melted.
- Take a sandpaper and roughen up the flat surface you picked. Clear away any debris.
- Take the install pad and apply marine goop to the bottom of the pad. Make sure the layer of goop added is thin. Then place the install pad on the rough surface you created and apply some pressure. Make sure the install pad is pointed towards the right direction, which is the front of the boat.
- Give it some time to dry. It depends on the temperature and humidity but usually takes around 24 hours.
- Apply goop again, this time on top of the install pad and fix the transducer to the pad. Make sure there are no air bubbles in the goop, otherwise the bubbles can interfere with the readings of the transducer. Allow this to dry. It may take another 24 hours depending on the prevalent weather conditions. Keep the kayak ventilated for faster drying.
- Mount the fishfinder head unit by removing its base or bottom portion. Take that portion and drill a hole through it. Use a mounting screw to attach it to the front of the boat. Drill a hole on its tip and seal it with another screw. Make sure it’s tightened well.
- It is time to attach the fishfinder head unit to the mounted top part. Remove the base part and attach it to a fishfinder of your choice. There are holes in these parts and you must line them up and attach the pieces with mounting screws.
- After tightening the fishfinder head, place it on top of the mounted part on the kayak.
- Drill another hole in the flat surface of a kayak, in front of the fishfinder unit you placed earlier. Run the wire of the power cable through the hole and place a grommet through the wire. Attach the transducer power line to a 9-volt battery connector. Bundle up excess wiring so that your kayak does not look cluttered up.
- Plug the wires to the back of the fishfinder. Make sure the battery pack is sealed in an airtight bag to prevent water from touching the battery when the kayak is on the water.
It all narrows down to how and where you want to use your fishfinder. If you are going to a small lake or river with your canoe or kayak, you probably won’t need it. If you are going to deep rivers or seas a fishfinder will help you with fishing and determining fish locations. You should select a fishfinder depending on your budget and the waters you might go fishing.


